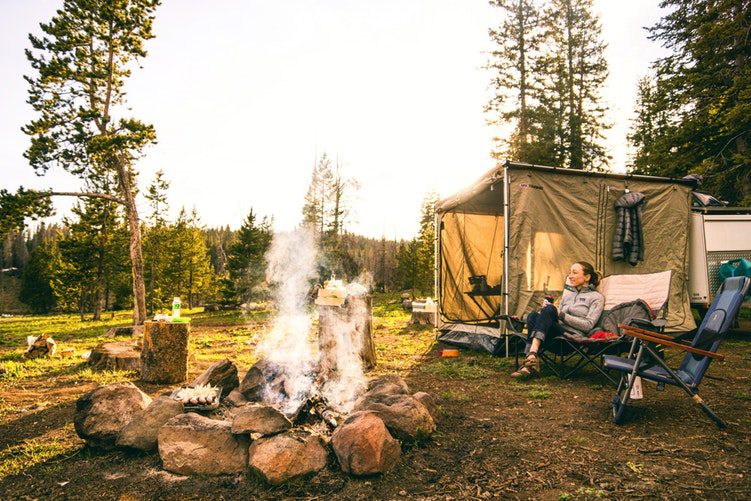
Let’s face it, the first time at anything can be a bit scary. First time driving a car, first date, first real job, or buying your first house. Yet, despite that fear, millions of people do them for the first time every day. So, why should stay in the great outdoors be any different? I mean, we can read about the beauty of the wilderness and we can even go online line and try to live in a virtual world. The fact is, however, nothing compares to actually going out there and living in the moment and grabbing the camping experience with both hands. Now to do this right, you do need to be prepared and to prepare for this particular adventure, you will need to know how to build a tent.
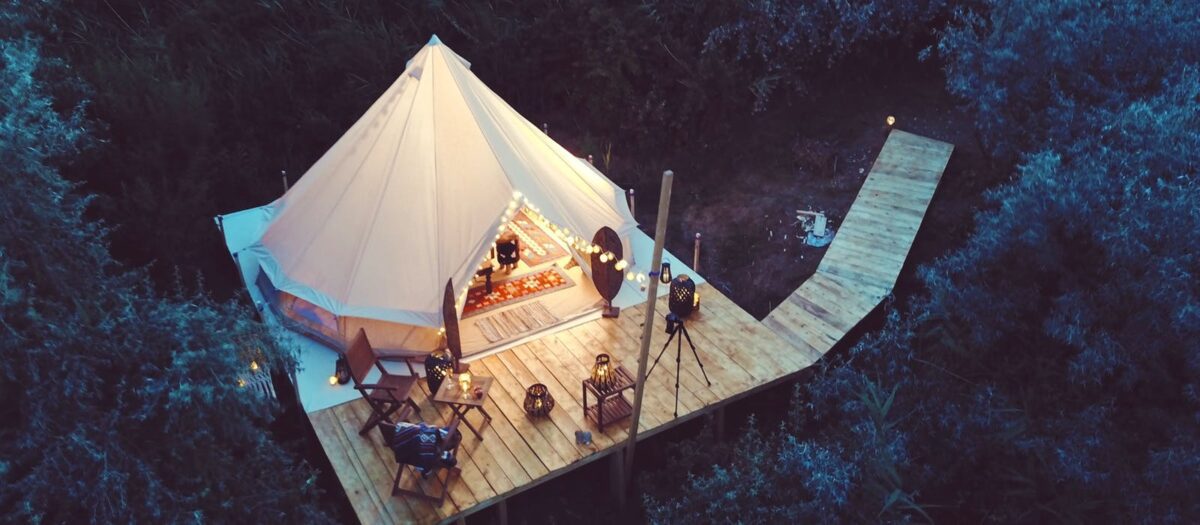
Now tents have been the centerpiece for enjoying the outdoors and even primitive lodging for thousands of years. They have been used by explorers, outdoor adventurers, and even following natural disasters and emergencies. Now, when it comes to braving the elements, tents are thought of as one of the most basic, but most important pieces of equipment. They come in a variety of different shapes, sizes, and colors and can be made up of either natural or synthetic materials. So, before you decide on which one to buy, you will want to be certain that it fits your specific needs with respect to size, function, and durability. Most importantly, it is critical that you know how to build or put up your tent before heading out for that outdoor experience.
What Will You Need?
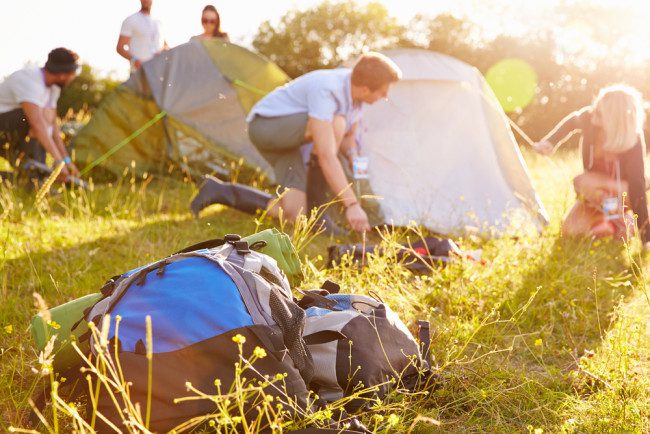
Generally speaking, most of the items needed for your camping tent should come in the box when you buy it. To be certain of this, it is a good idea to remove all of the contents and check to ensure that all the parts and pieces are not only there, but that there are no defects with any of the items or materials. If you don’t have everything, then you will need to purchase a few things critical to have on hand. Obviously, you will need to bring the tent itself. You will also need a large piece of ground cover material to place under the tent. You will need some ground stakes, rods or snow pegs, and a hammer or mallet to drive the stakes into the ground with. I would also recommend having additional twine for tie-downs and seam sealer to further weatherproofing.
Top 5 To Do’s
- You might want to try a trial run at setting up your tent prior to your camping trip. Save yourself the headache by not trying to do this for the first time and not sure how the tent should go up.
- Be sure to build your tent while there is plenty of daylight left, especially if you are new to this. When it gets dark in the woods, it gets real dark and thus makes the task that much more difficult.
- Before heading out on your for your big trip, be sure that you know what the weather conditions are for the area you are looking to stay in. This should help you understand which direction the tent is to be set up with respect to the different wind directions. Regardless, always be prepared for rain.
- Be sure to find a clear flat surface that frees from any large roots or rocks. This will make for a far more comfortable stay.
- It is always a great idea to attempt to find some high tree lines for your campsite. This will not only provide added shade and protection from the rain, but also a place to hang items that you want to keep from predators. Likewise, be careful not to put your tent in a low-lying area, as water can easily collect during a rain shower and create a real problem.
How to Pitch a Tent
Now that you have all your tools and equipment, you selected the perfectly flat dry spot with some good tree coverage to provide ample shade; it’s now to actually start putting the tent together.
So, let’s get to it…
First, place the ground cover or tarp on the surface where you plan to build the tent on. You might think that ground cover is merely optional. The fact is, it will serve to protect the surface from water and help to keep the tent floor waterproof.
Next, begin unpacking your camping tent from the bag or box that it stored in, and if you are camping in an area with strong winds, put some weight on the tent to keep it from being blown away. Bricks or stones can be used for this if you don’t happen to have any larger objects with you. Just be sure that the objects used don’t have any sharp or jagged edges; as this could create a tear in the tent material.
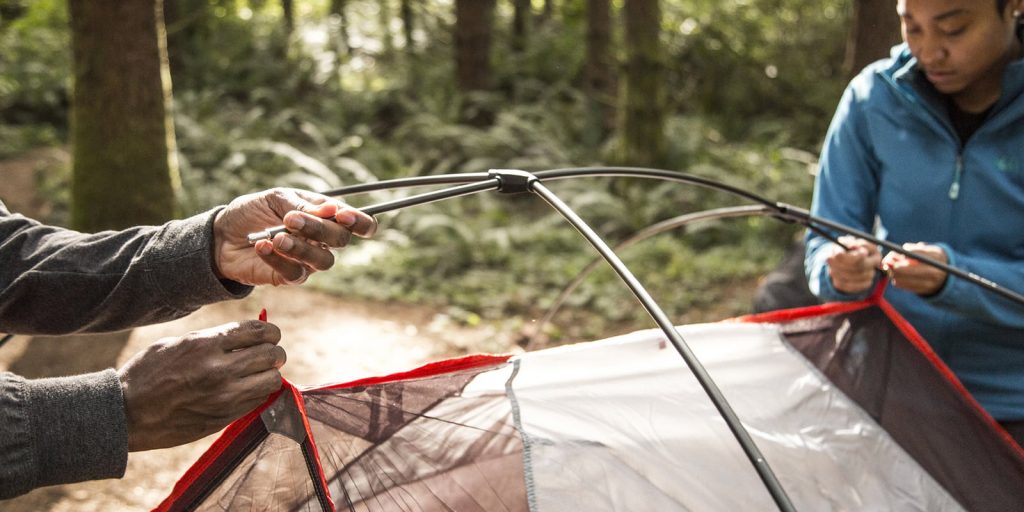
Now let’s take the stakes or rods and fasten each pole with the tent clip or key. You will then need to pull the tent firm, being mindful not to pull it so hard that it rips. With your mallet, you can hammer the stakes or rods into the ground. Now place the tent rod in the middle of the tent.
Be certain the stakes are checked to determine they are fixed firmly in the ground. If not, the tent could start to lean or even fall over if the stakes are too loose. If you happen to be camping in snowy areas, you may want to get special snow pegs that specifically used in snow. A rain-fly is used to prevent the tent from flying away as well as adding an extra layer for rain protection.
Once you get to know the basic techniques of setting up your camping tent, try pitching tents in different locations with different weather conditions. Practicing this way will be very helpful and soon you will not only be able to pitch a tent perfectly, but you will be able to so in a much shorter time. The benefits of camping can be best experienced when one is well versed in all basic camping skills, and setting up tents is considered to be an important skill one needs to learn to truly enjoy a camping trip.
Contributed by: happierCamping.com foremost experts in Camping and outdoor adventure
- Best Camping Sites In India - May 28, 2023
- 10 Essential Items For A Comfortable Camping Trip - May 4, 2023
- The Best Camping Tents For Families - May 4, 2023

